Spring 2022 - Present
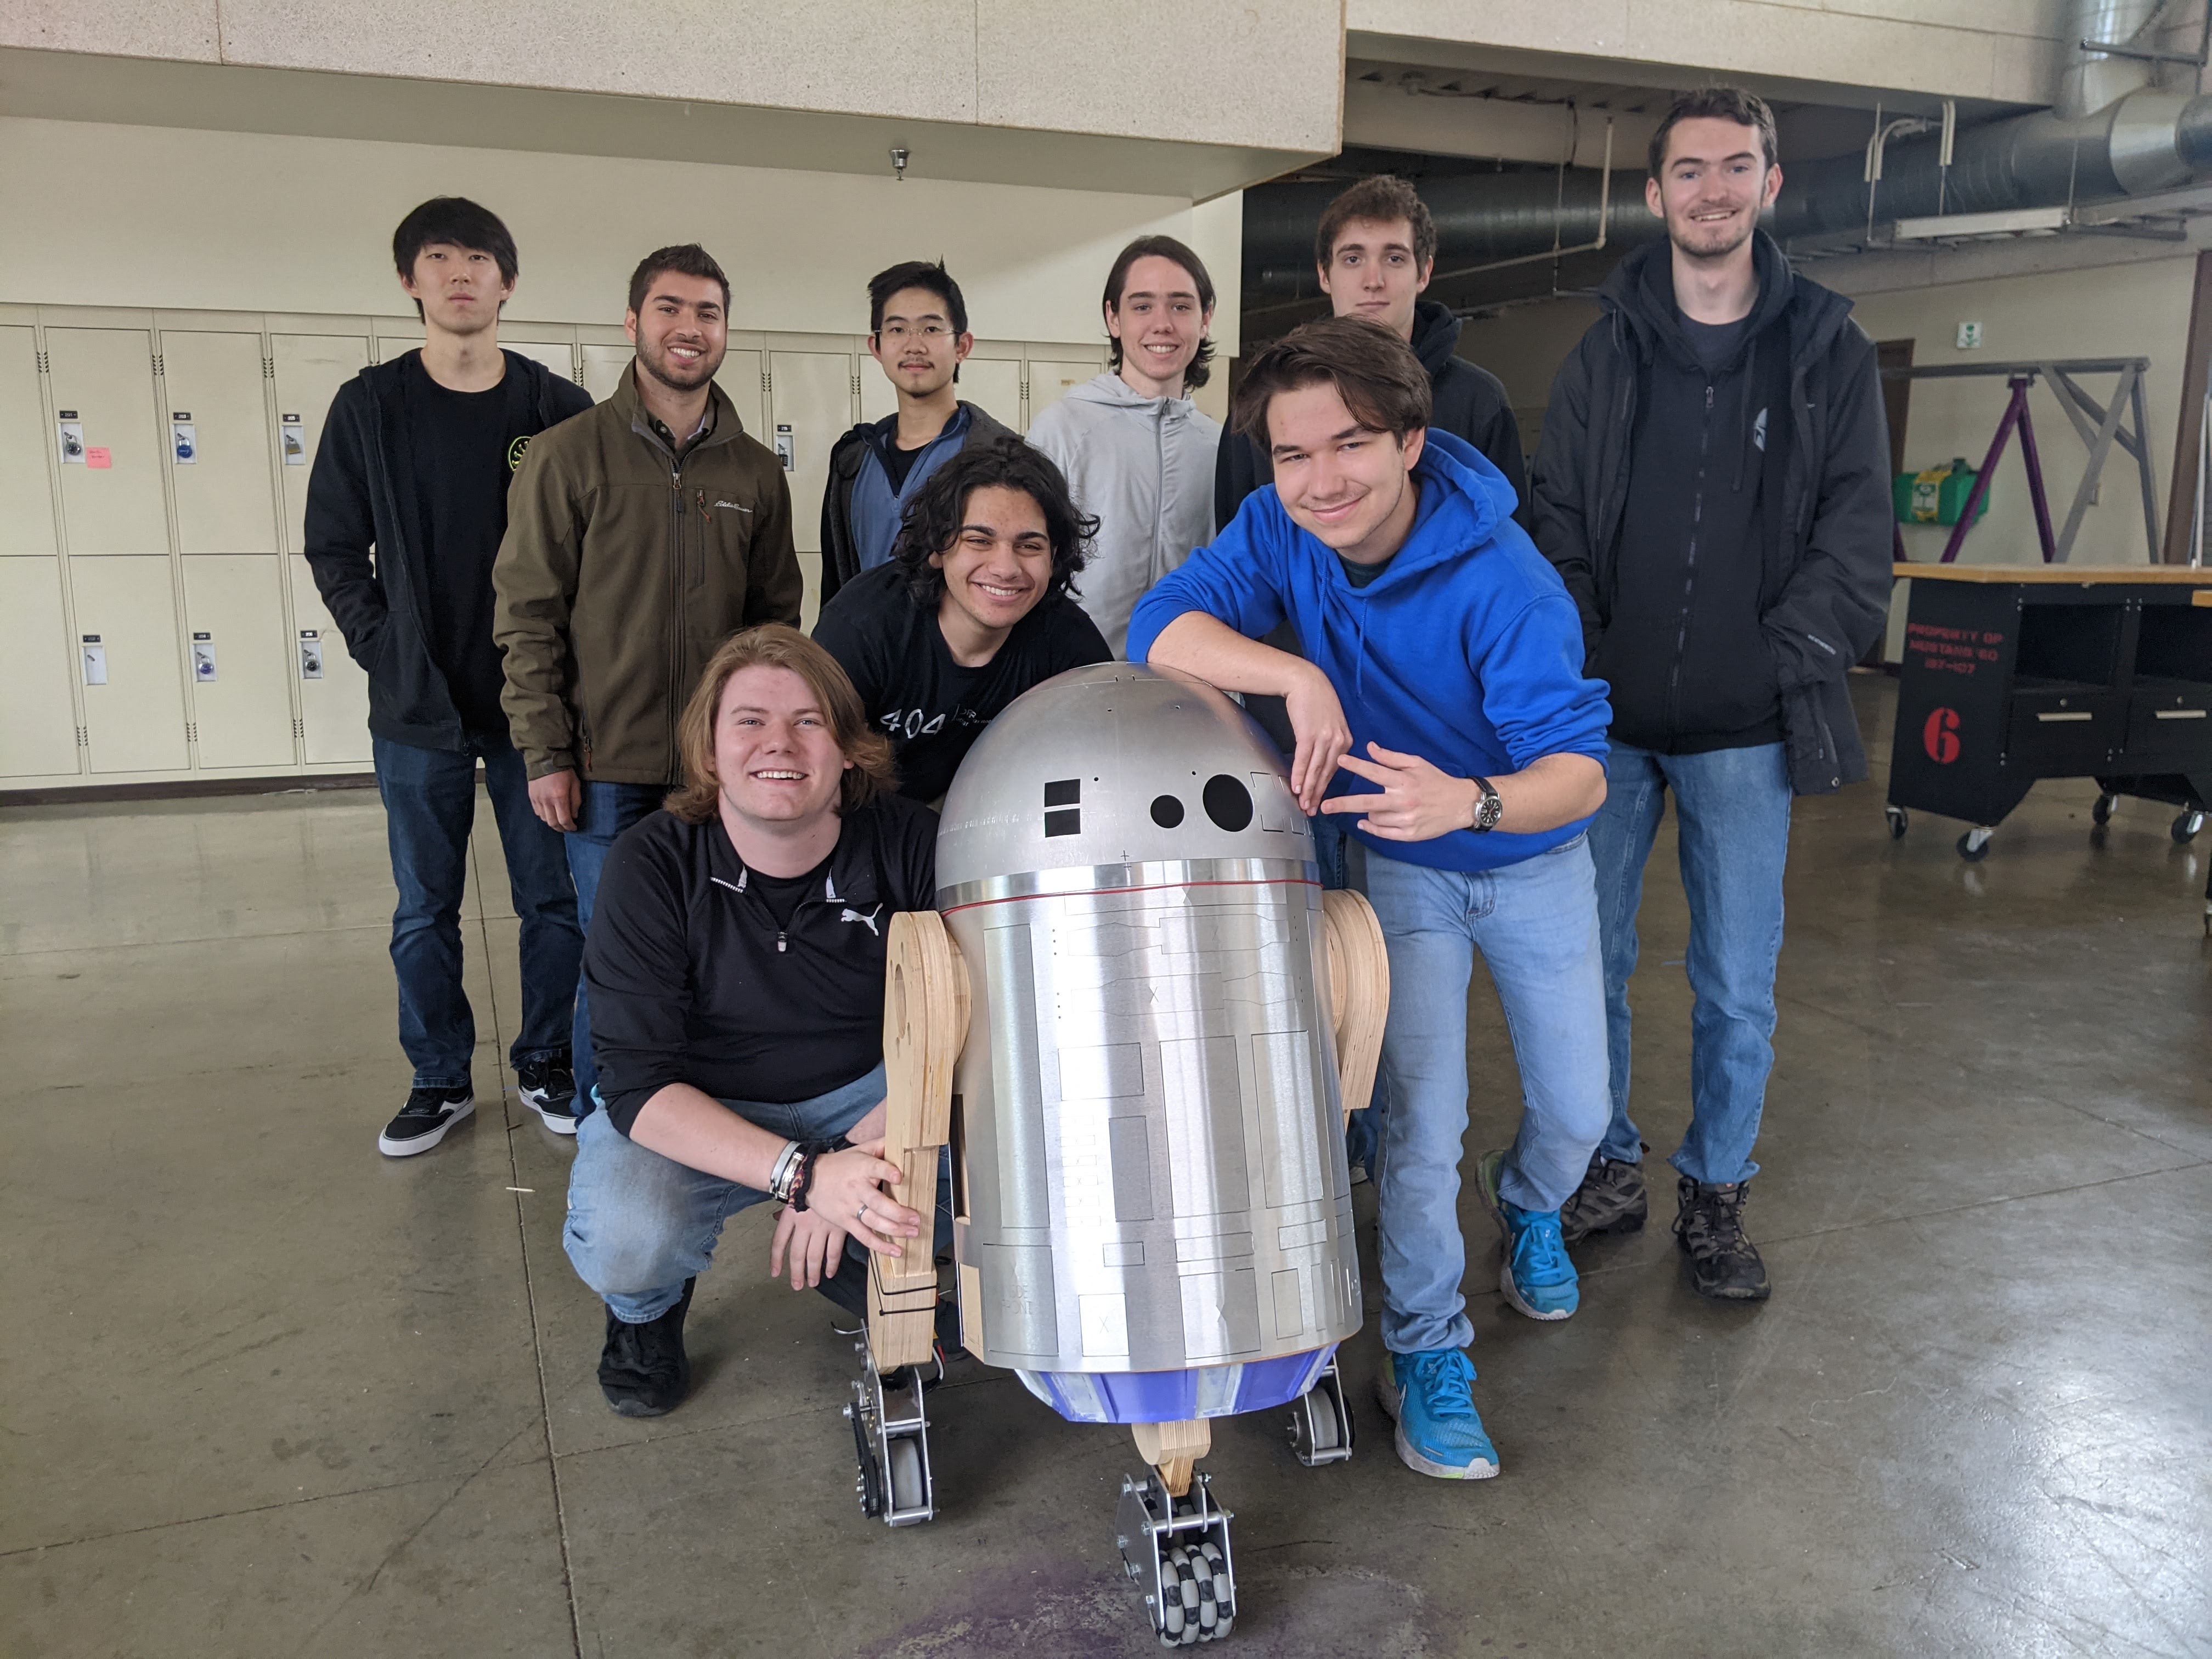
Project Overview
With our club advisor, Dr. Seng, we are making our own Star Wars Astromech. The project started in the Fall of 2023, but I joined during that Spring of my 1st year at Cal Poly. Since there is an existing community of makers for this kind of project, some of the frames and skins were purchased, but we are now working on integrating the various components together, which has been a great opportunity to practice design. It can currently drive using a remote control, but our goal is to have it drive autonomously in the next few years.
Development
When I first joined the project, I helped to assemble the frame and the drive trains. As the parts came in, we made two drive trains as well as a larger set of 4 omni-wheels for the front.
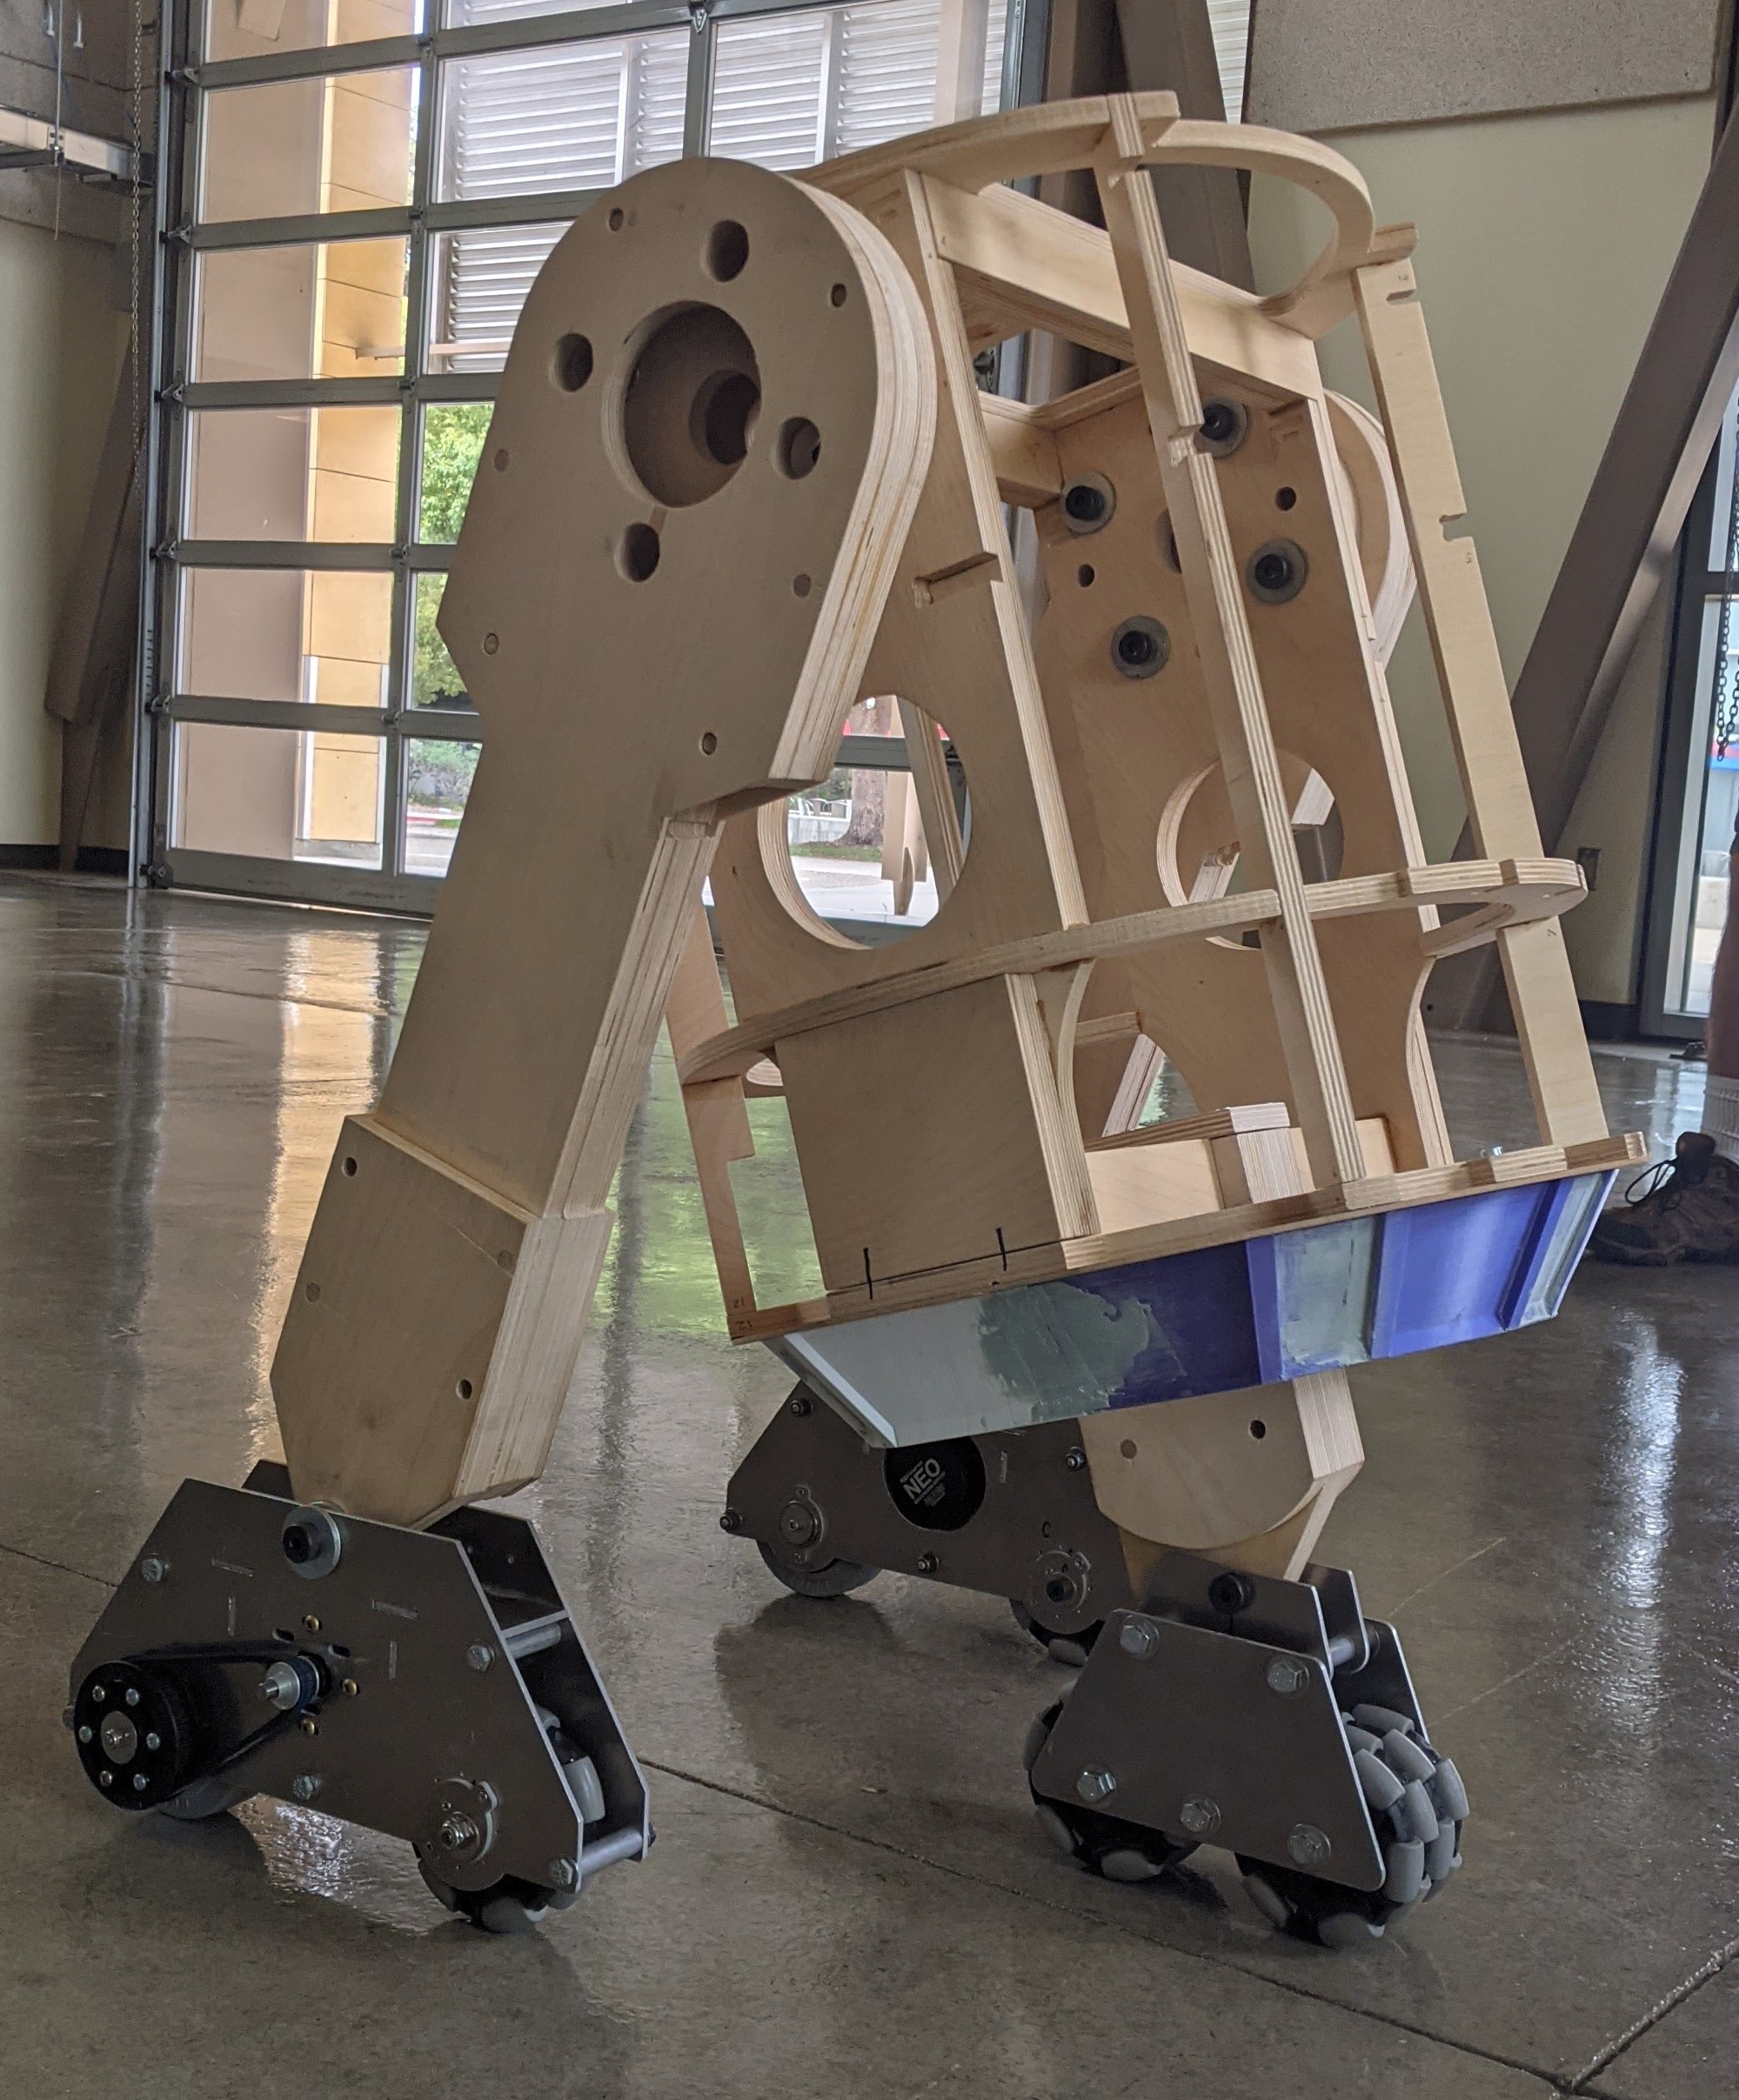
After the frame, we wanted it to start actually looking like an Astromech, so we started mounting the head. It using a Lazy Susan mechanical to rotate, and it was difficult to find the right placement of the motor to balance the gear locking and sturdy support from the frame.
Another thing I worked on during this time was a mount for head electronics. It needed to fit underneath the bolts that held the head on as well as inside the rim of the Lazy Susan. I did a rapid prototype using styrofoam board first, and once everything fit inside the constraints, I put it into CAD and laser cut it. I hadn't used a laser cutter before, but I learned a lot about how quick these custom shapes could be made using this cool piece of technology.
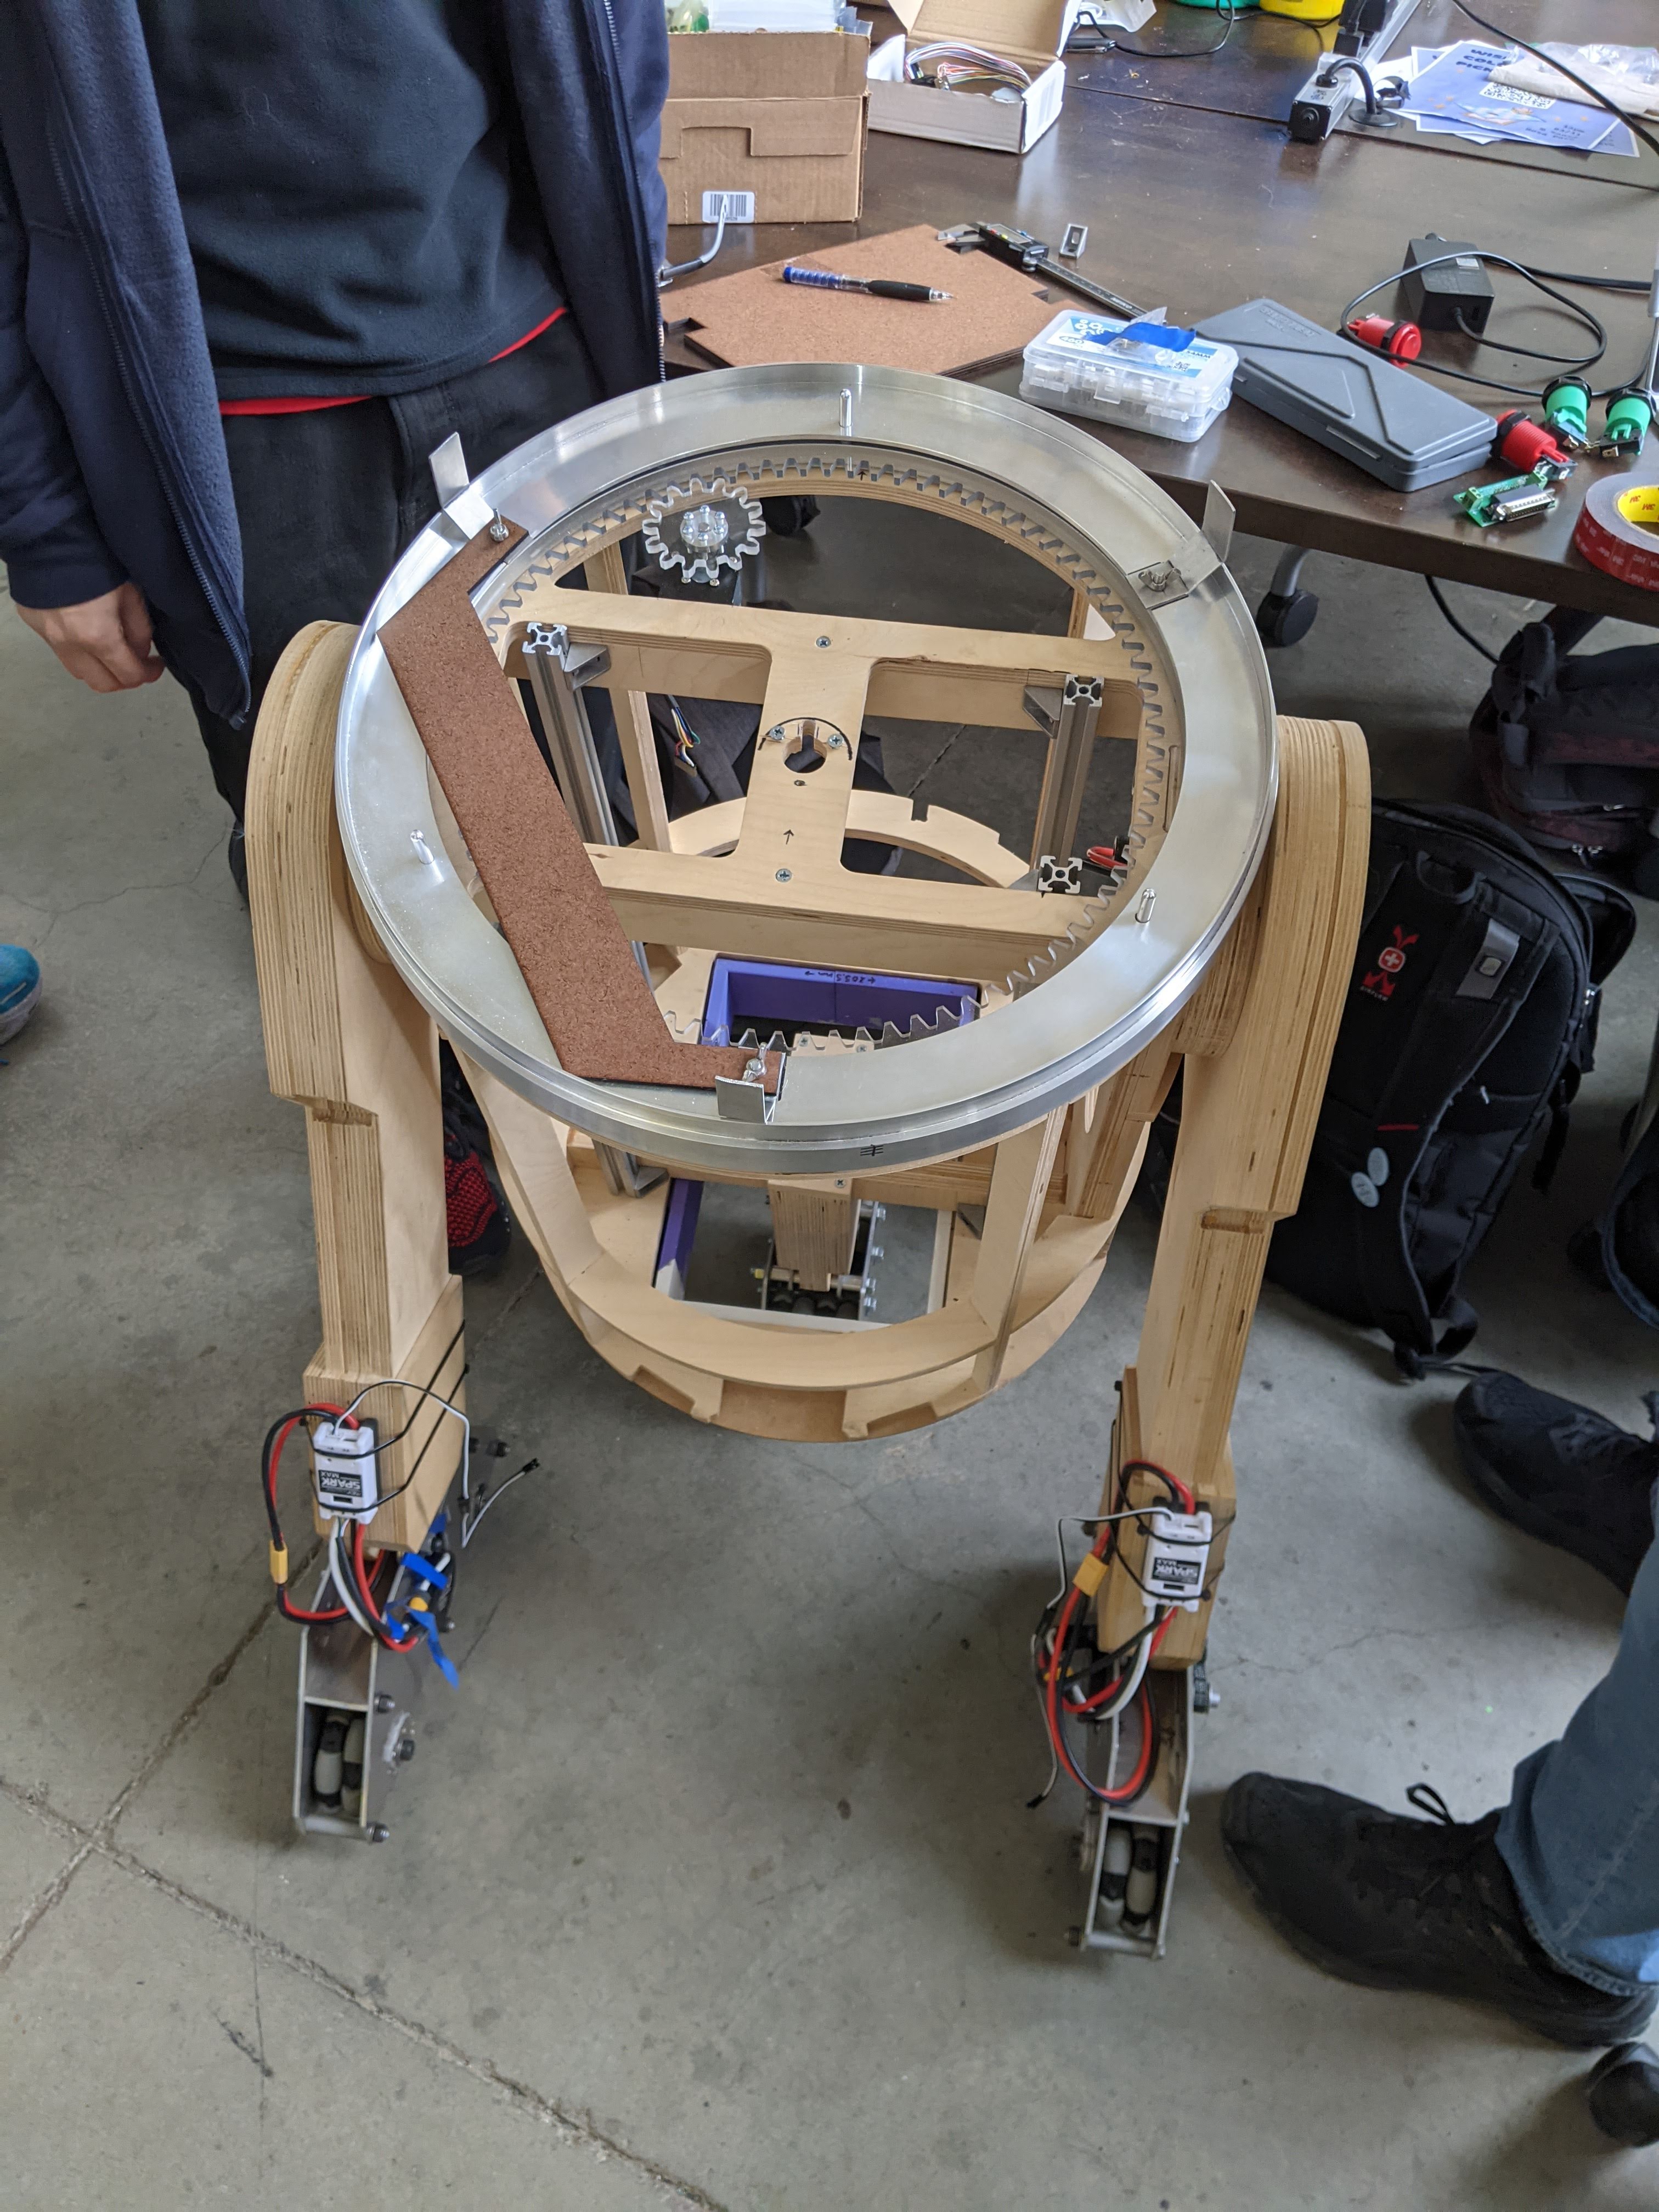
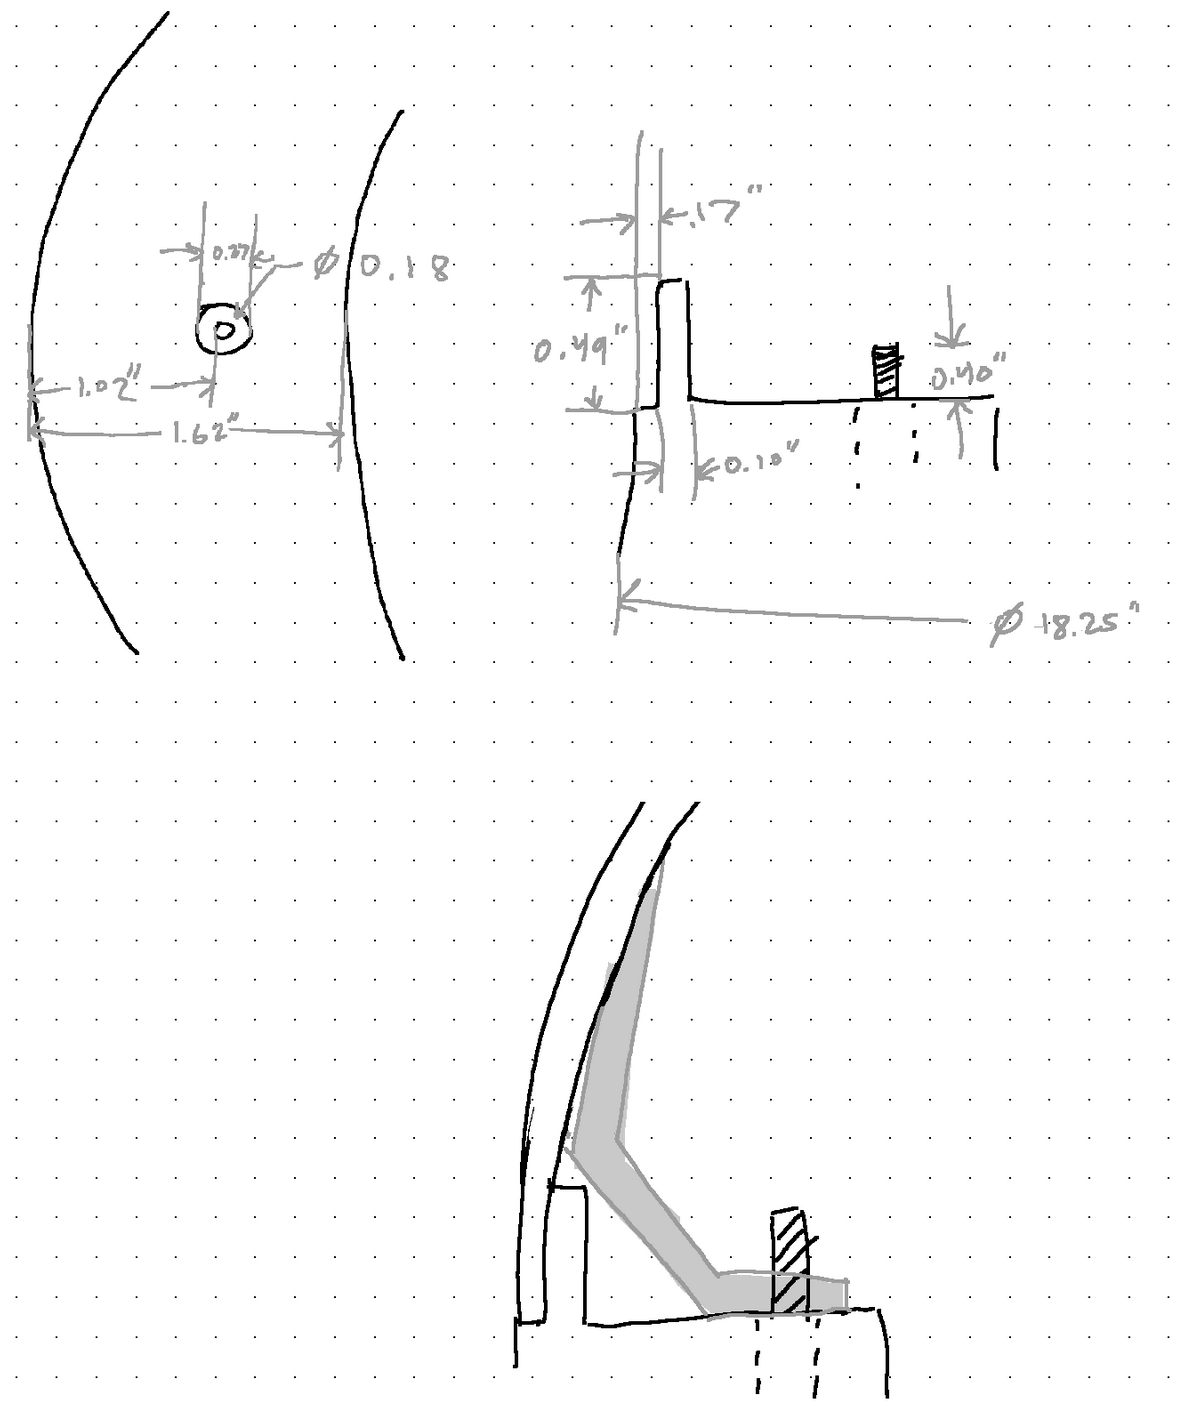
It took a lot of brainstorming within our group to decide how best to keep the dome on the Lazy Susan. We didn't want just anyone to be able to pick the head off of the frame, but we still needed to be able to access it. We took measurements, sketched our ideas, and ended up using a simple bent piece of sheet metal and some 3M adhesive strips to keep everything in place. Then, when you need to remove the head, you unscrew bolts by reaching up through the main frame and then the whole head can be removed.
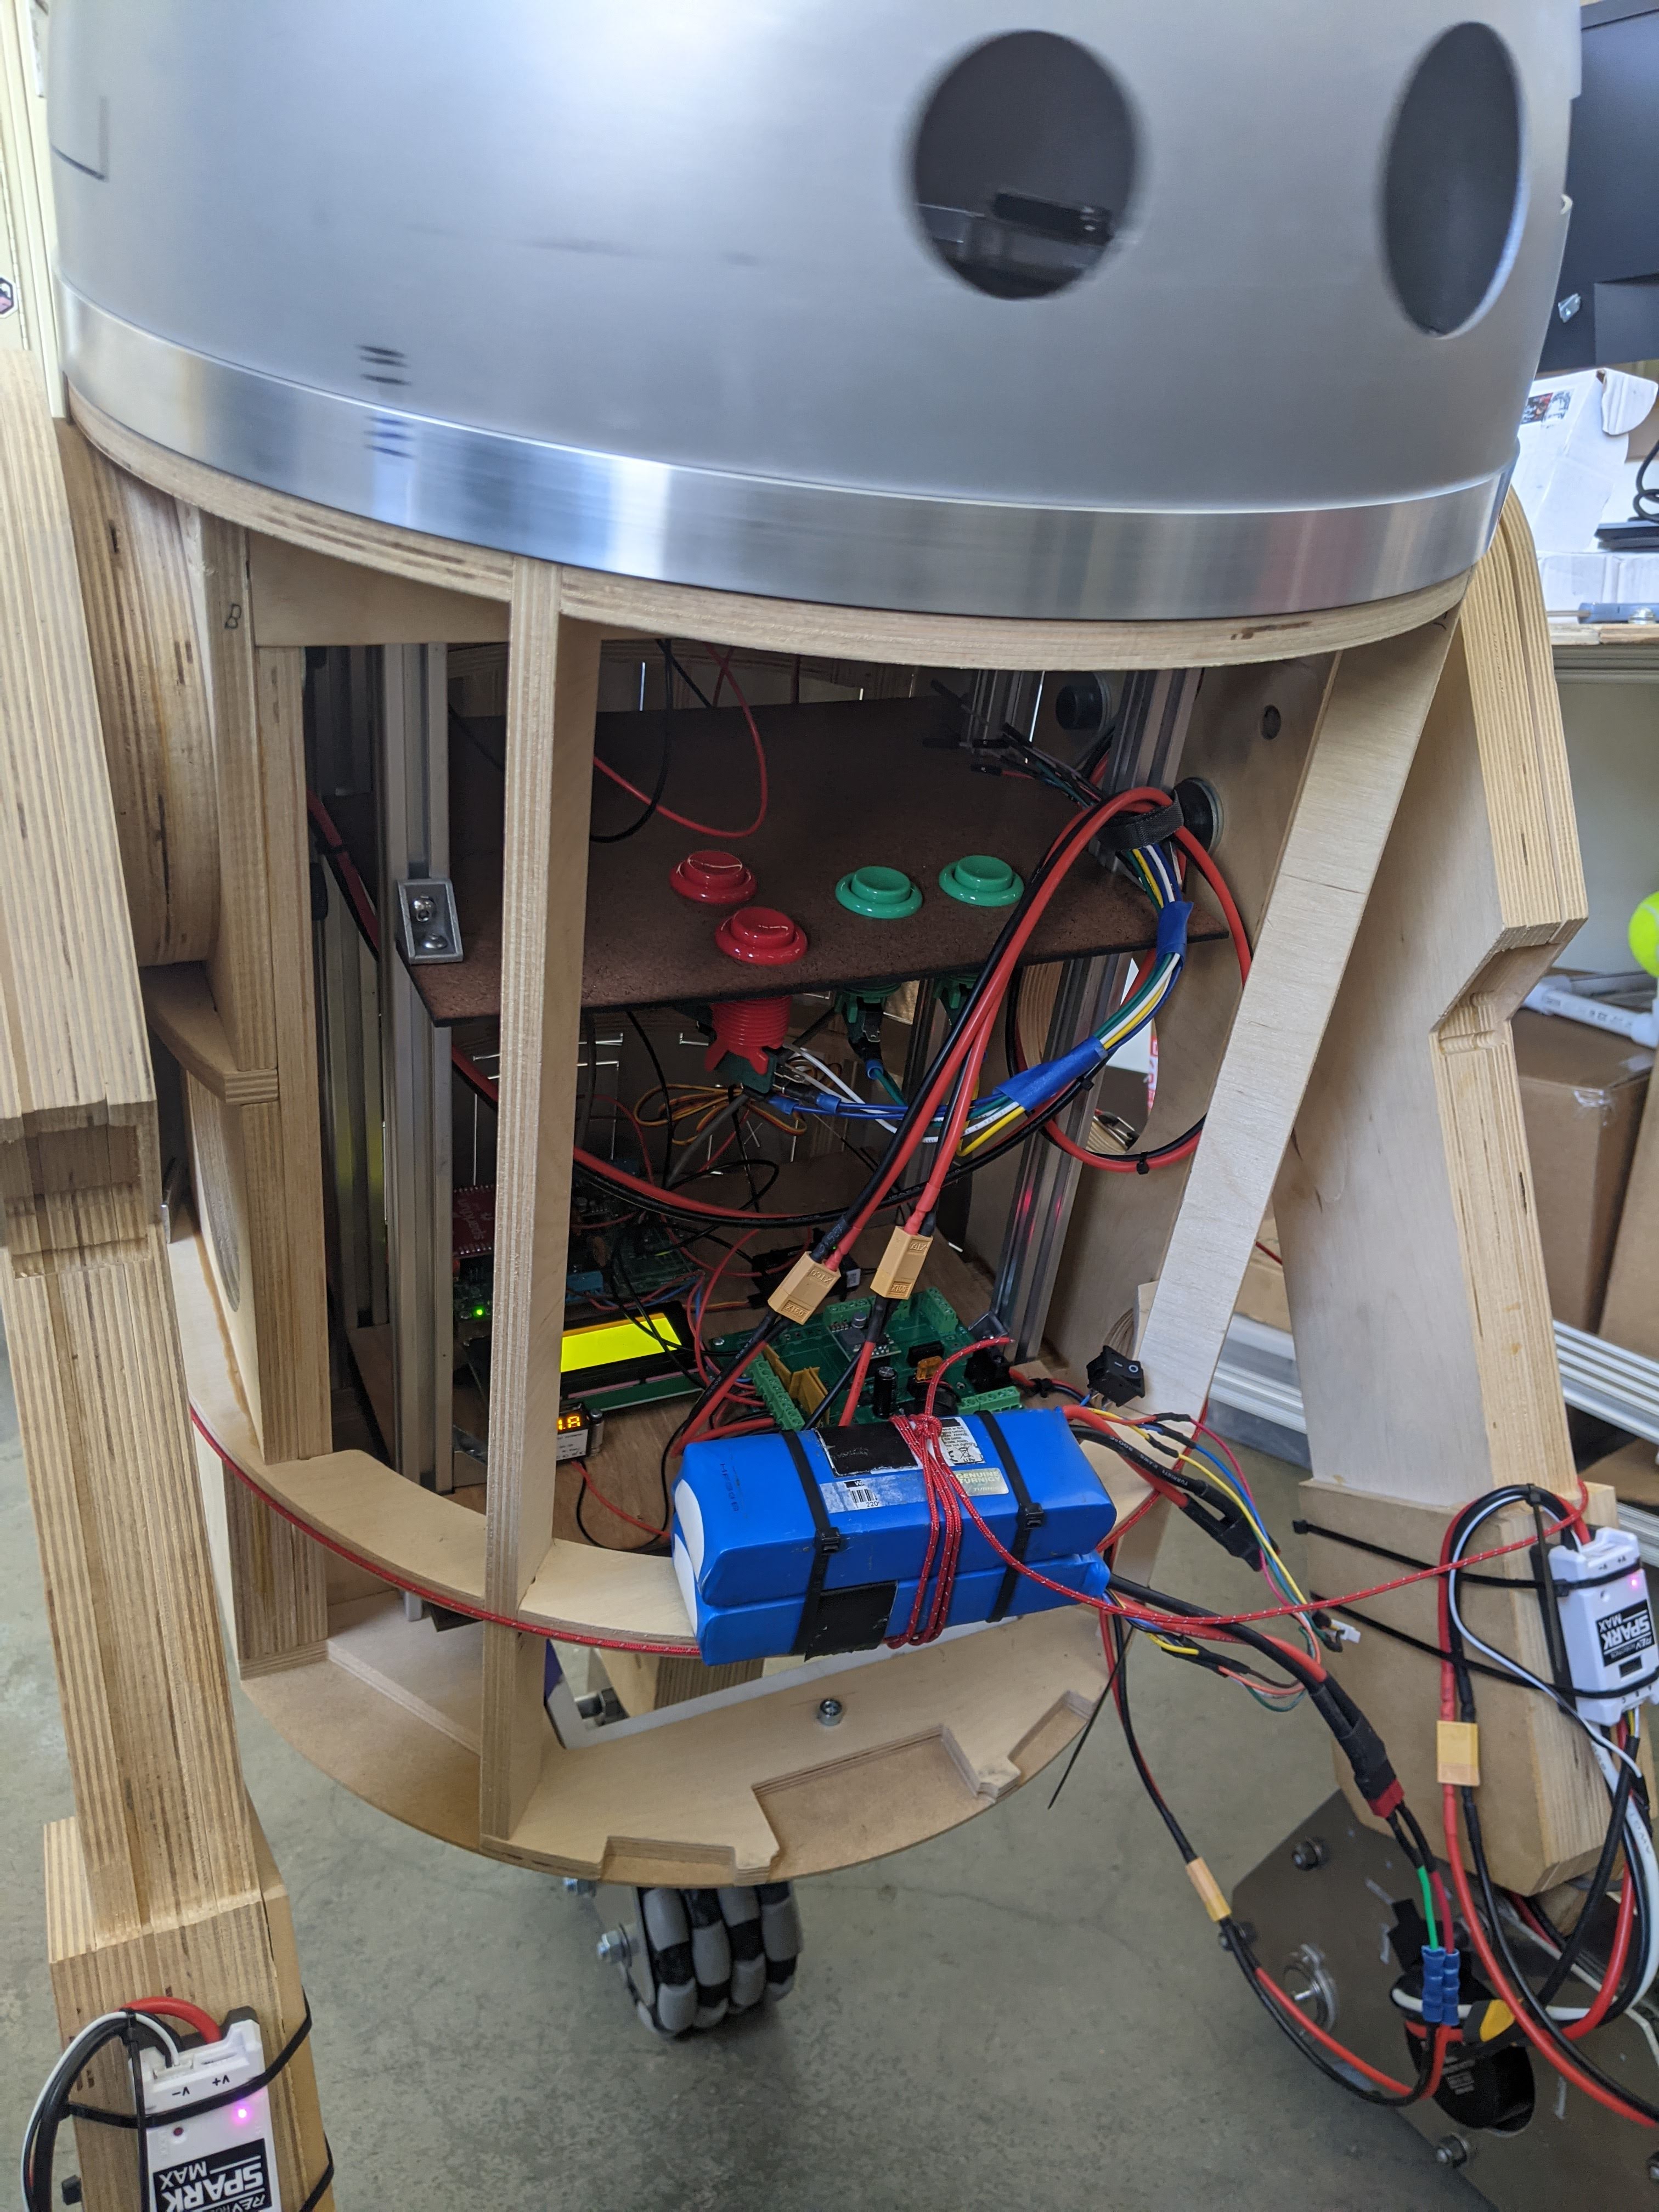
Once the head was on, it was time to start adding the electronics. I was responsible for designing a set of platforms that could hold all of the various boards we were using. With some 80/20 and some corner brackets, I made them so that they could be adjusted in the future if our needs changed. I also made some modifications to one of the platforms to hold buttons that could be used for debugging later on.
So far, I've learned a lot on the project. Working with so many talented peers is really inspiring. Everyone is so supportive of me practicing things I am not yet that great at. I'm excited to see the rest of this project come to fruition during the next couple of years.
